Profile List Page
The profile list shows all profiles that you created in your Octo Browser account. Using the list, you can perform such operations as creating, editing, searching for, or transferring profiles.
The top left corner of the Profiles window shows the number of profiles you currently have and the total number of profiles your subscription supports (for example, 351/1,200). The number of profiles may change if you have selected any tags or if a profile name has been entered into the search box. The number in green indicates the number of currently active profiles. An active profile is a profile that is currently running.
To perform a search in the profile list, enter part of the profile name in the search bar to filter the list. You can search by the profile name and selected tags simultaneously.
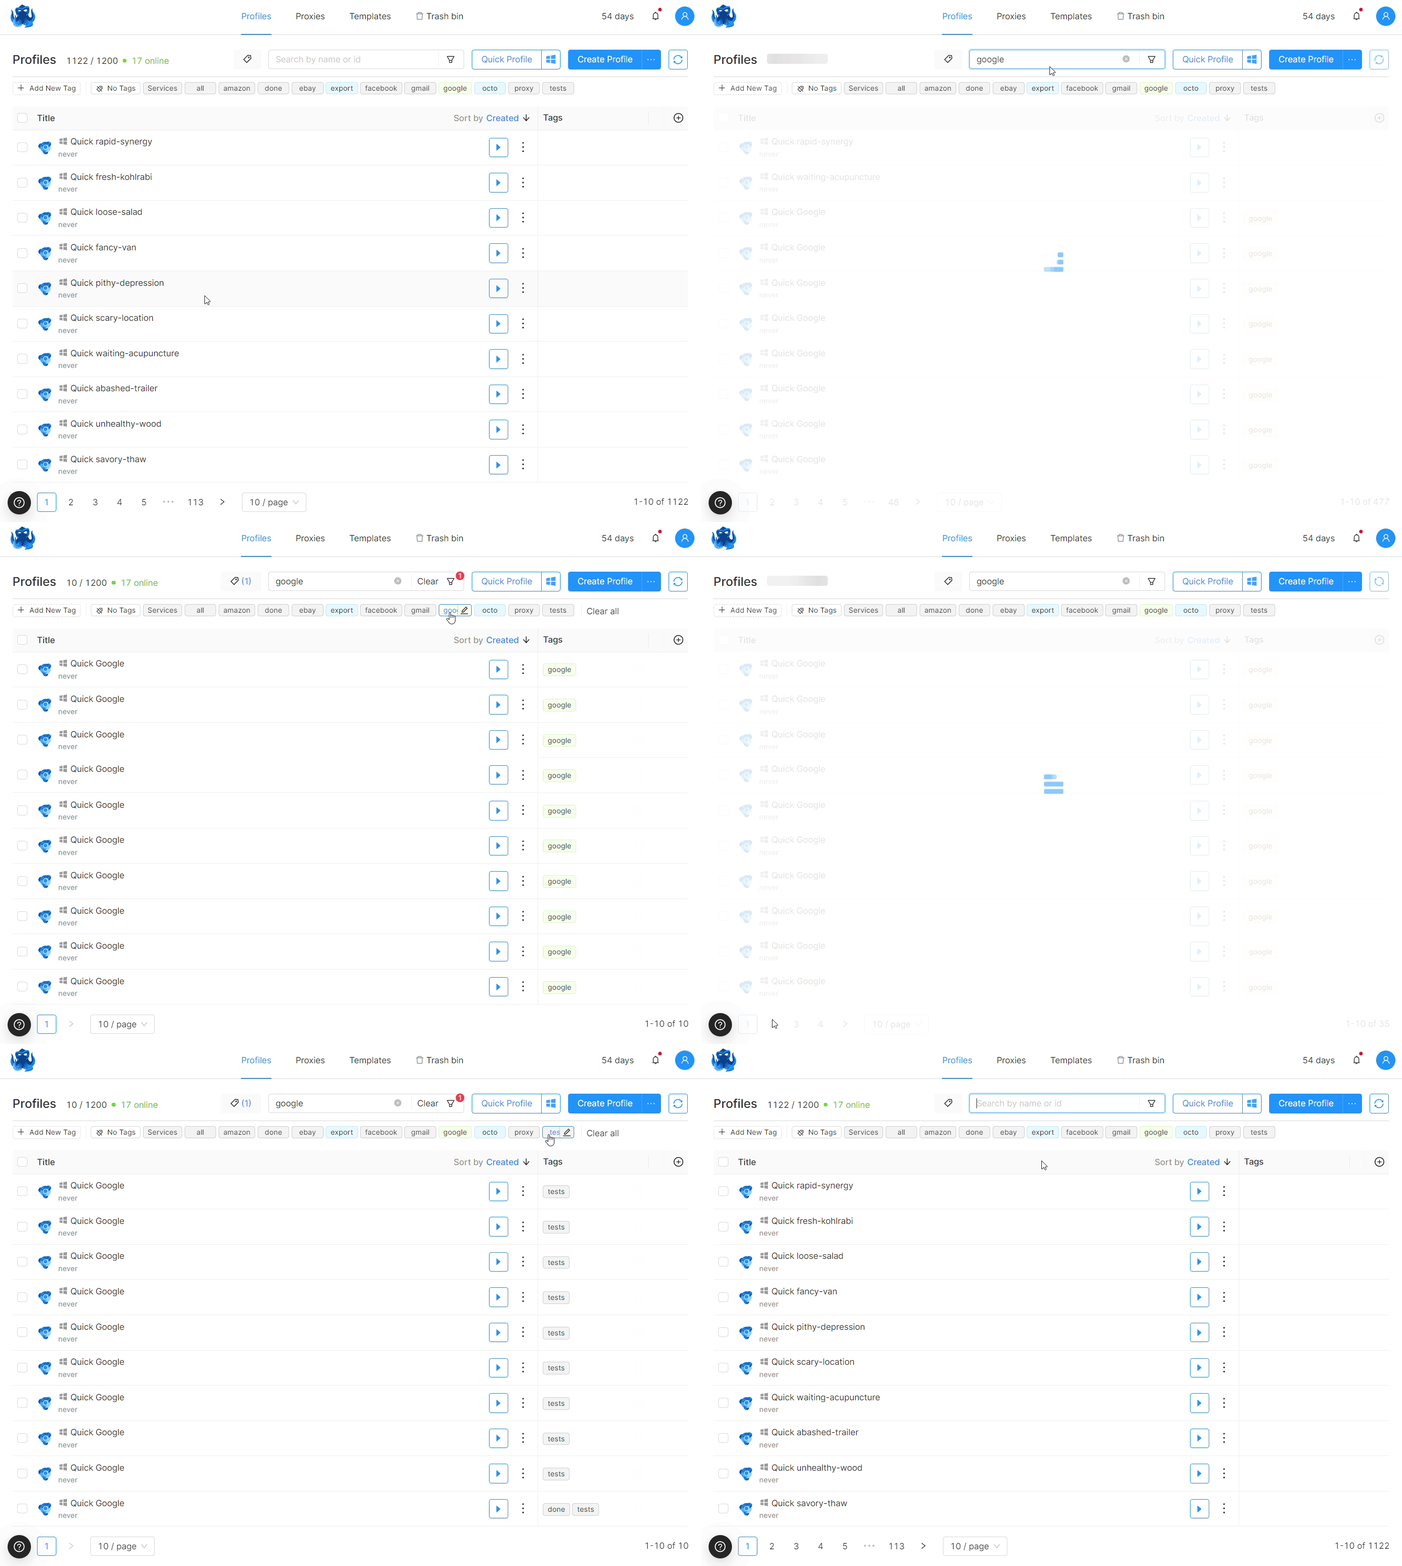
Apart from tags and profile names, you can use additional filters for searching:
- Proxy (a specific one, a temporary proxy or no proxy).
- Password (all, set, not set).
- Status (all, not running, running, error).
All applied filters will be used for searching. You can quickly reset the search filters by clicking the "Clear" or "Clear all" buttons.
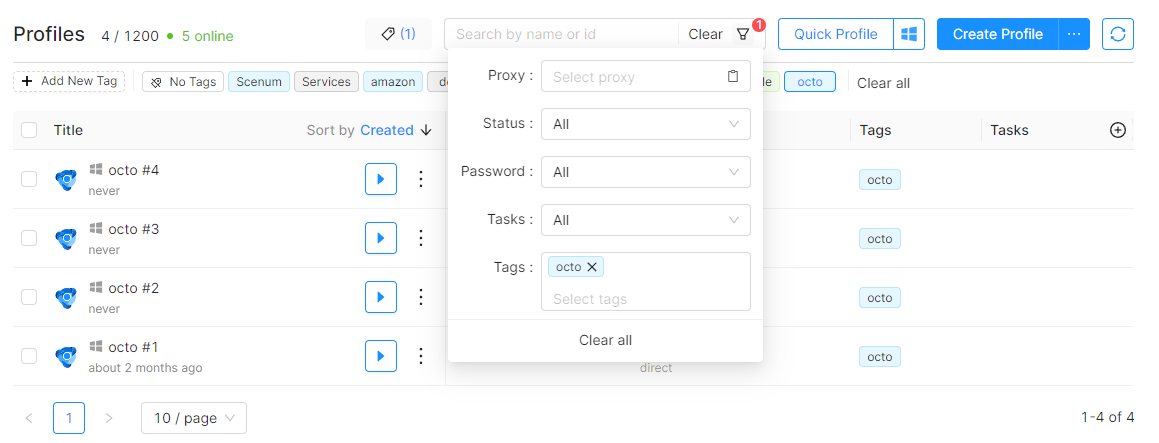
At the bottom of the profile list you can find page navigation buttons, clicking on which you can navigate to the profile you need. 10 to 100 profiles can be displayed on one page at a time, depending on the display settings you have set.
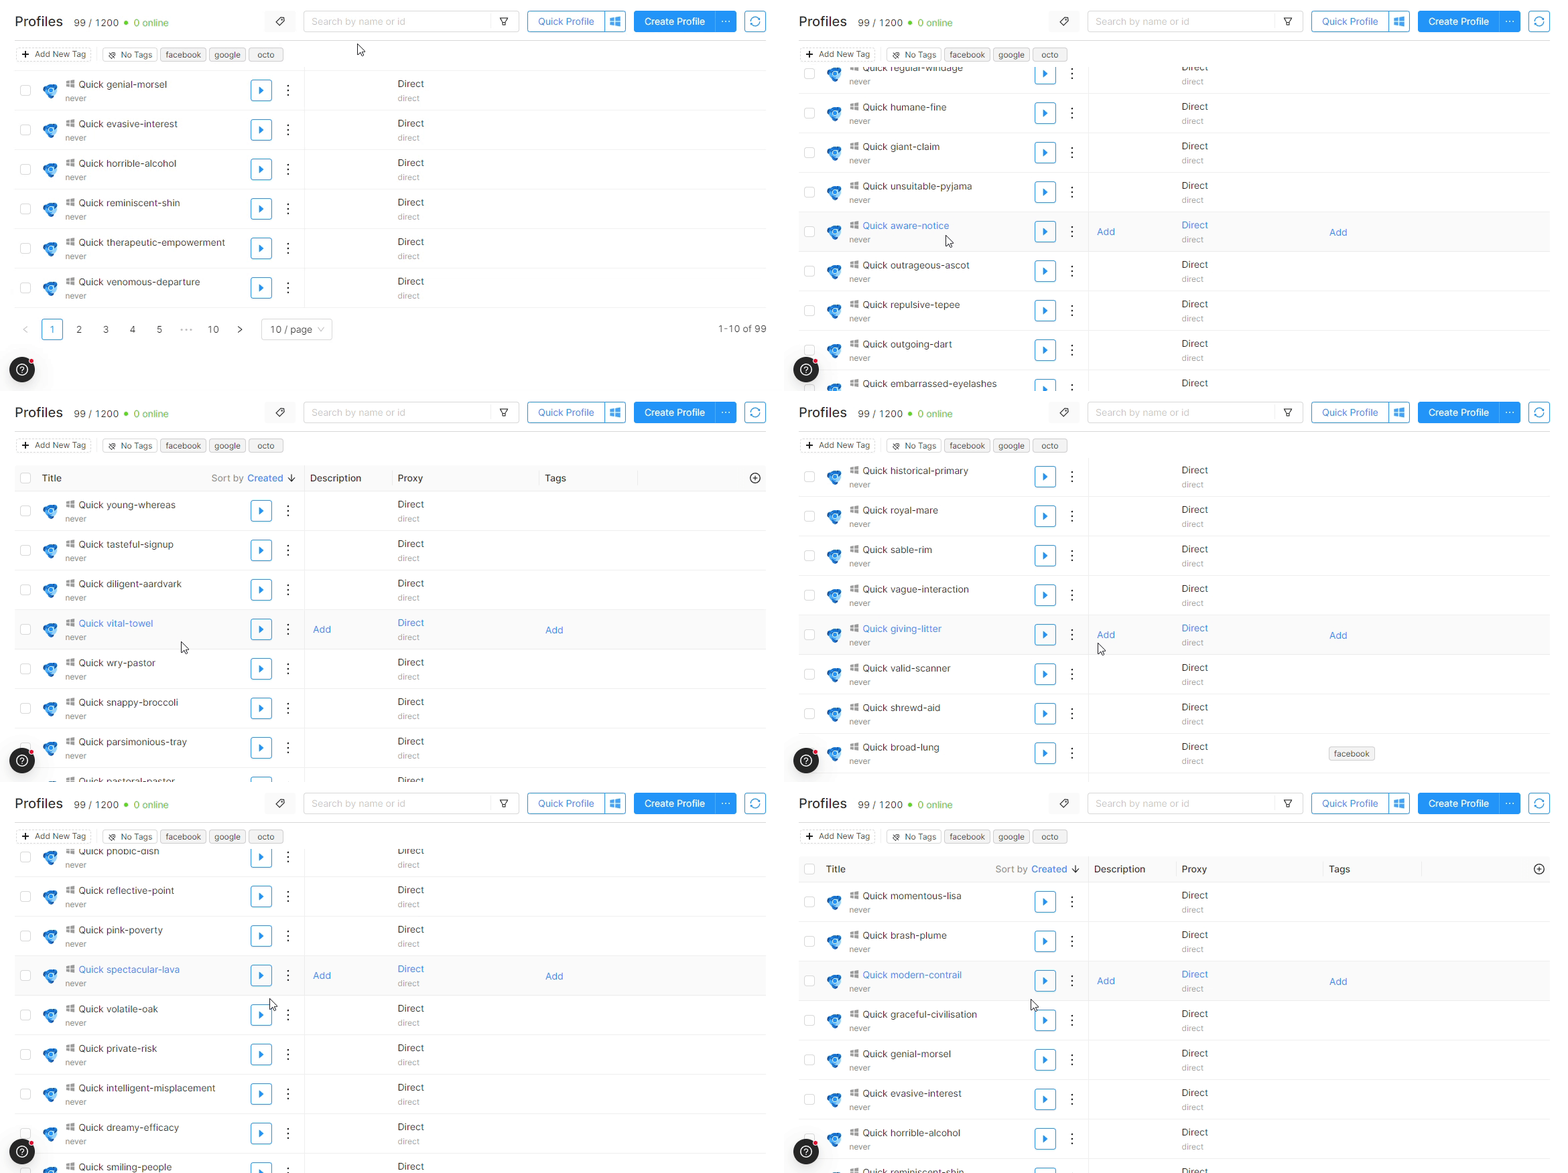
To find the necessary profiles more easily, you can sort them by name, date of creation, and date of launch. Clicking on the icon with two arrows to the right of the sorting menu refreshes the information about the profiles on the page. At the bottom of the page you can select the number of profiles to display on a page.

Octo Browser uses alphabetical sorting by name. Sorting is done using the entire profile name string (i.e., using all characters contained in the string; spaces also count as characters). To avoid any inconveniences when sorting profiles using numbers, use the maximum available value based on your current subscription in the profile name.
For example: with the Base subscription you have access to 100 profiles. Thus, you can use 001, 002, 003, etc. for profile names (adding zeros in front of the profile number as necessary). Then, when sorting the profiles by name, they will be sorted correctly and available in ascending/descending order.
We recommend keeping this feature in mind for a more comfortable experience when working with profiles.
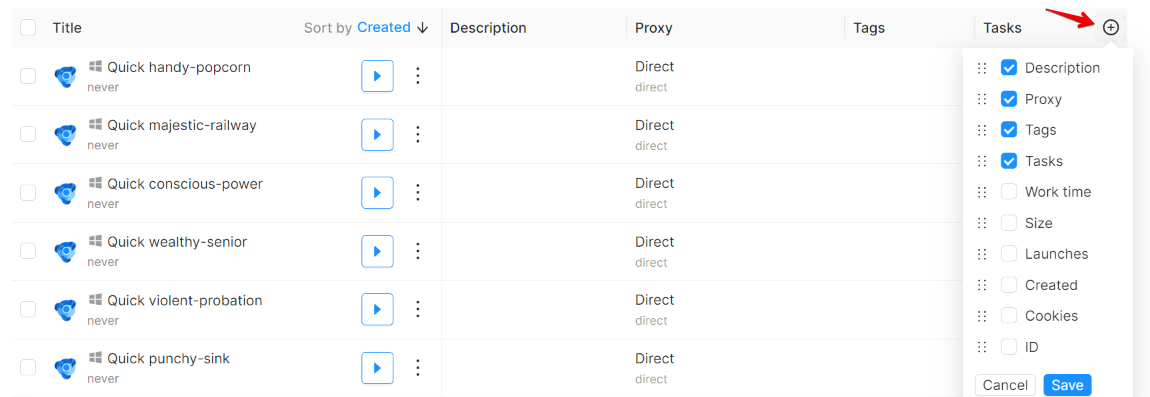
The Column Editor is a window that allows you to modify the columns and their order in the Profile List.
Click the "+" icon in the top right corner of the Profile List to open the editor. Using the editor, you can enable or disable the following columns:
- Description: profile description
- Proxy: profile proxy
- Work time: total time the profile has been running
- Size: profile size in KB/MB
- Tags: profile tags
- Launches: the number of profile launches
- Created: profile creation date
- Cookies: the number of cookies in the profile
- ID: profile identifier, useful for working with API and sometimes needed when contacting Customer Service
To enable/disable columns, check the boxes you need and click Save.
To change the order of columns in the list, hold the left mouse button on the holder to the left of the column name, drag the column to the desired position, and save the changes.
You can change the width of the columns. To do this, hold down the left mouse button at the visual separator of the Profile List header and drag the mouse to change the column width.
You can quickly reset the width, number, and order of columns in the List to their default values by clicking "Reset" in the Column Editor.
Bulk Actions in the Profile List
If you need to edit profiles on the list in bulk, select the required profiles first. After selecting the profiles, you will see an additional bulk editing menu where you can add or remove tags from selected profiles, set a proxy for selected profiles, transfer them to another account, export, password-protect, or remove profiles from the list.
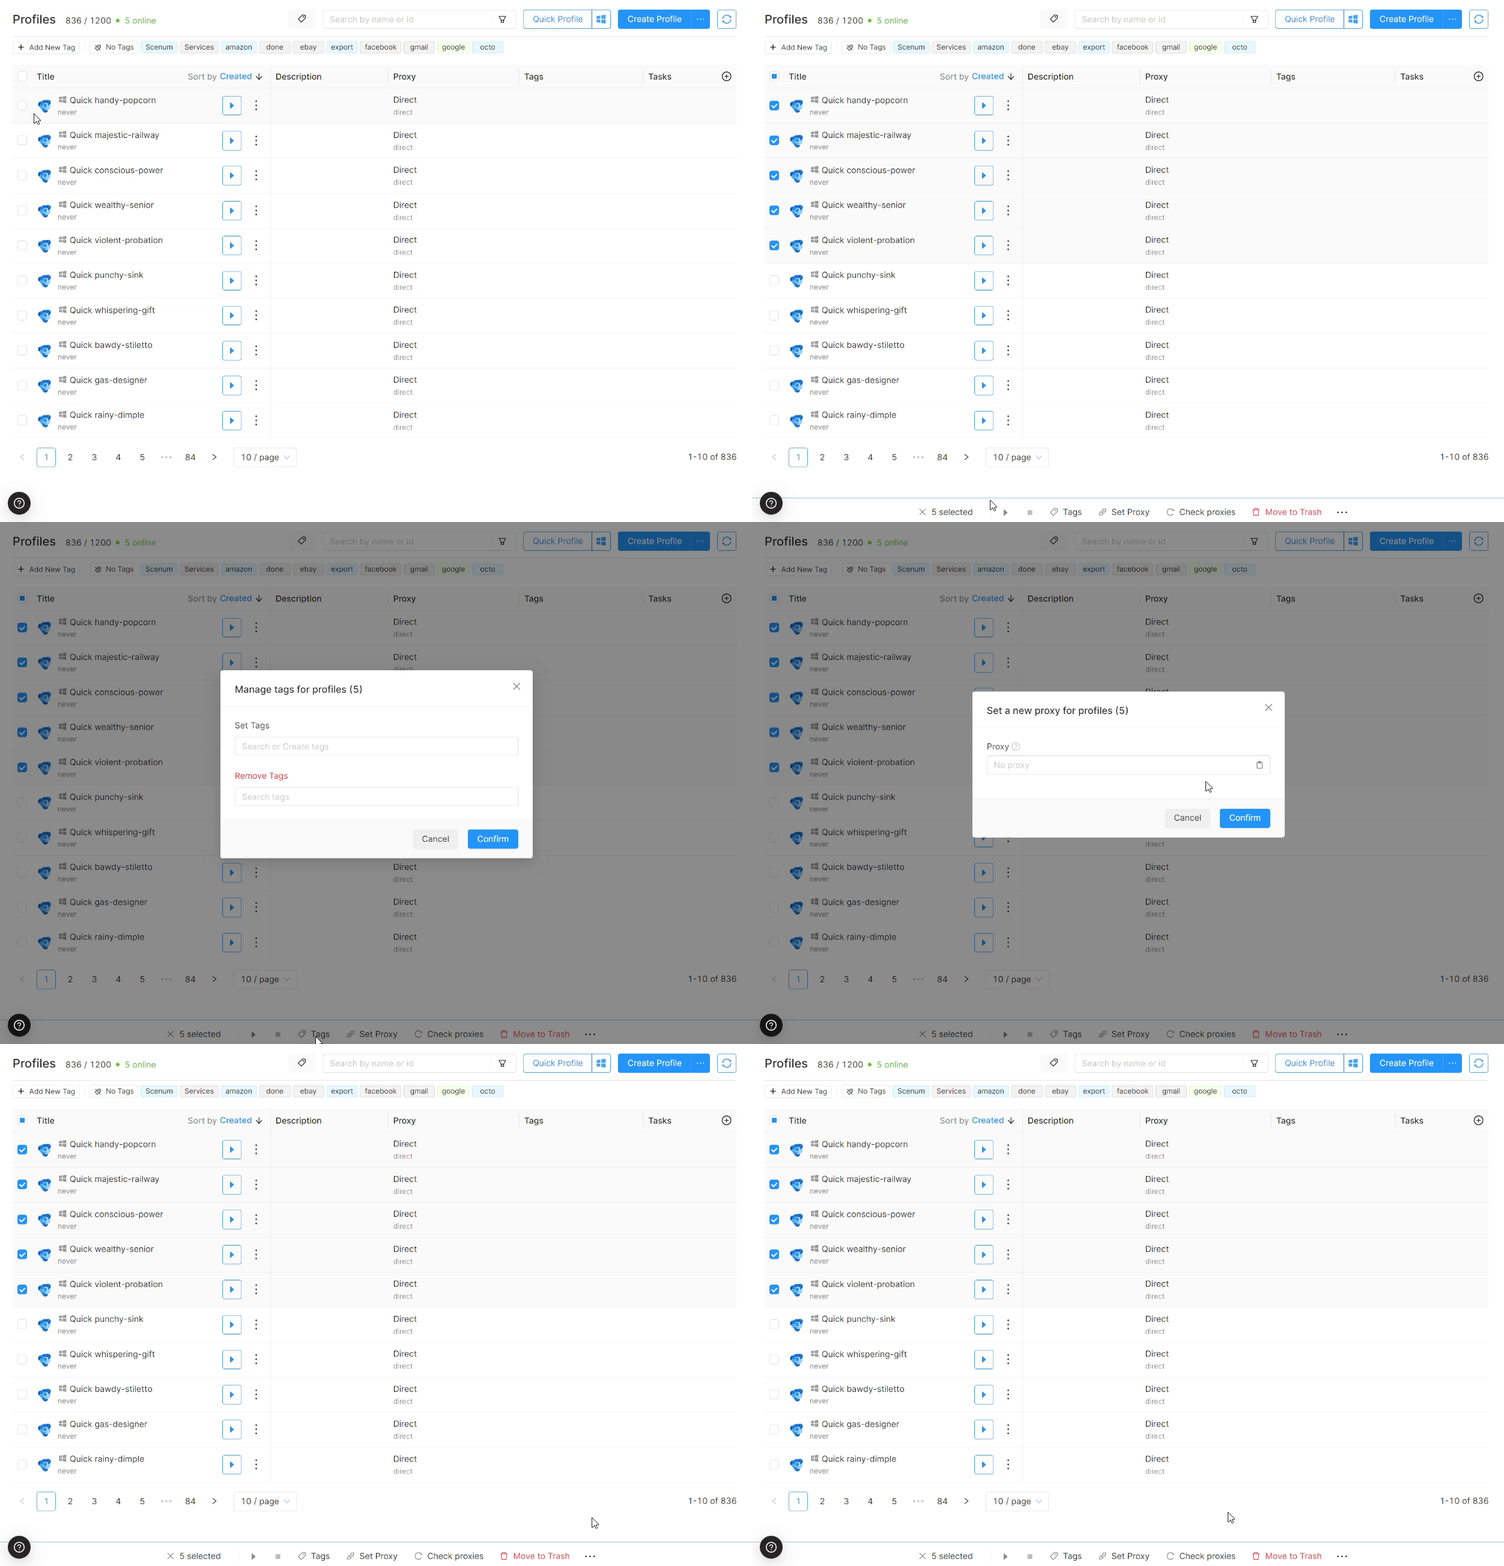
To select all currently displayed profiles, check the box next to the Title field (below the profile search bar). All profiles on this page will be selected. To deselect all profiles, click on the cross icon next to the Bulk Actions menu.